
A Farmhouse Desk for Work from Home and Remote School
/
My family recently moved into our new forever home, in the middle of a pandemic, working from home, and both kids in online remote school. We needed a place where we can all work, do school work, and still have enough room to stretch out and not be in each other’s way. My wife and I came up with a design not unique to us, in fact its a very common design, but designed around our needs and the space of our home office.

I won’t claim that this post will guide you through all of the details of my build, but it should give you a good idea of the processes, steps, and tools I used for the desk project, and hopefully inspire you to make your own version of the desk for your home.

Desk top pieces jointed, planed, and ripped to width

My small and old jointer, but it serves me well
I started with the desk top, and in my case I started with 2x10s from Home Depot to make the top. You could easily make this project from all 2x4s, but I wanted to be able to select the best grain for the top which I think you can get from 2x10s or 2x12s which are made out of southern yellow pine instead of spruce/pine/fir for most 2x4s. I used my jointer, planer, and table saw to get straight, even boards cut to 4 inches wide and made 6 of them for the 24 inch wide desk top.

A biscuit jointer
I used a biscuit jointer to align my desktop in preparation of gluing up the top. This is a tool that creates a small slot in the wood and you insert a small wood “biscuit” into the slot. This tool and technique helps with alignment of large glue ups and reduces sanding and planing on the finished top once its all glued together.

Prepping for glue up
I used Titebond II wood glue and some clamps to glue up the first half of the desk top. I didn’t do it all at once to make sure I had enough time to clamp everything in place before the glue set up and to give me time to make any adjustments. This is the largest glue up I’ve done, but with some preparation, patience, and a practice run, it went smoothly and will for you.
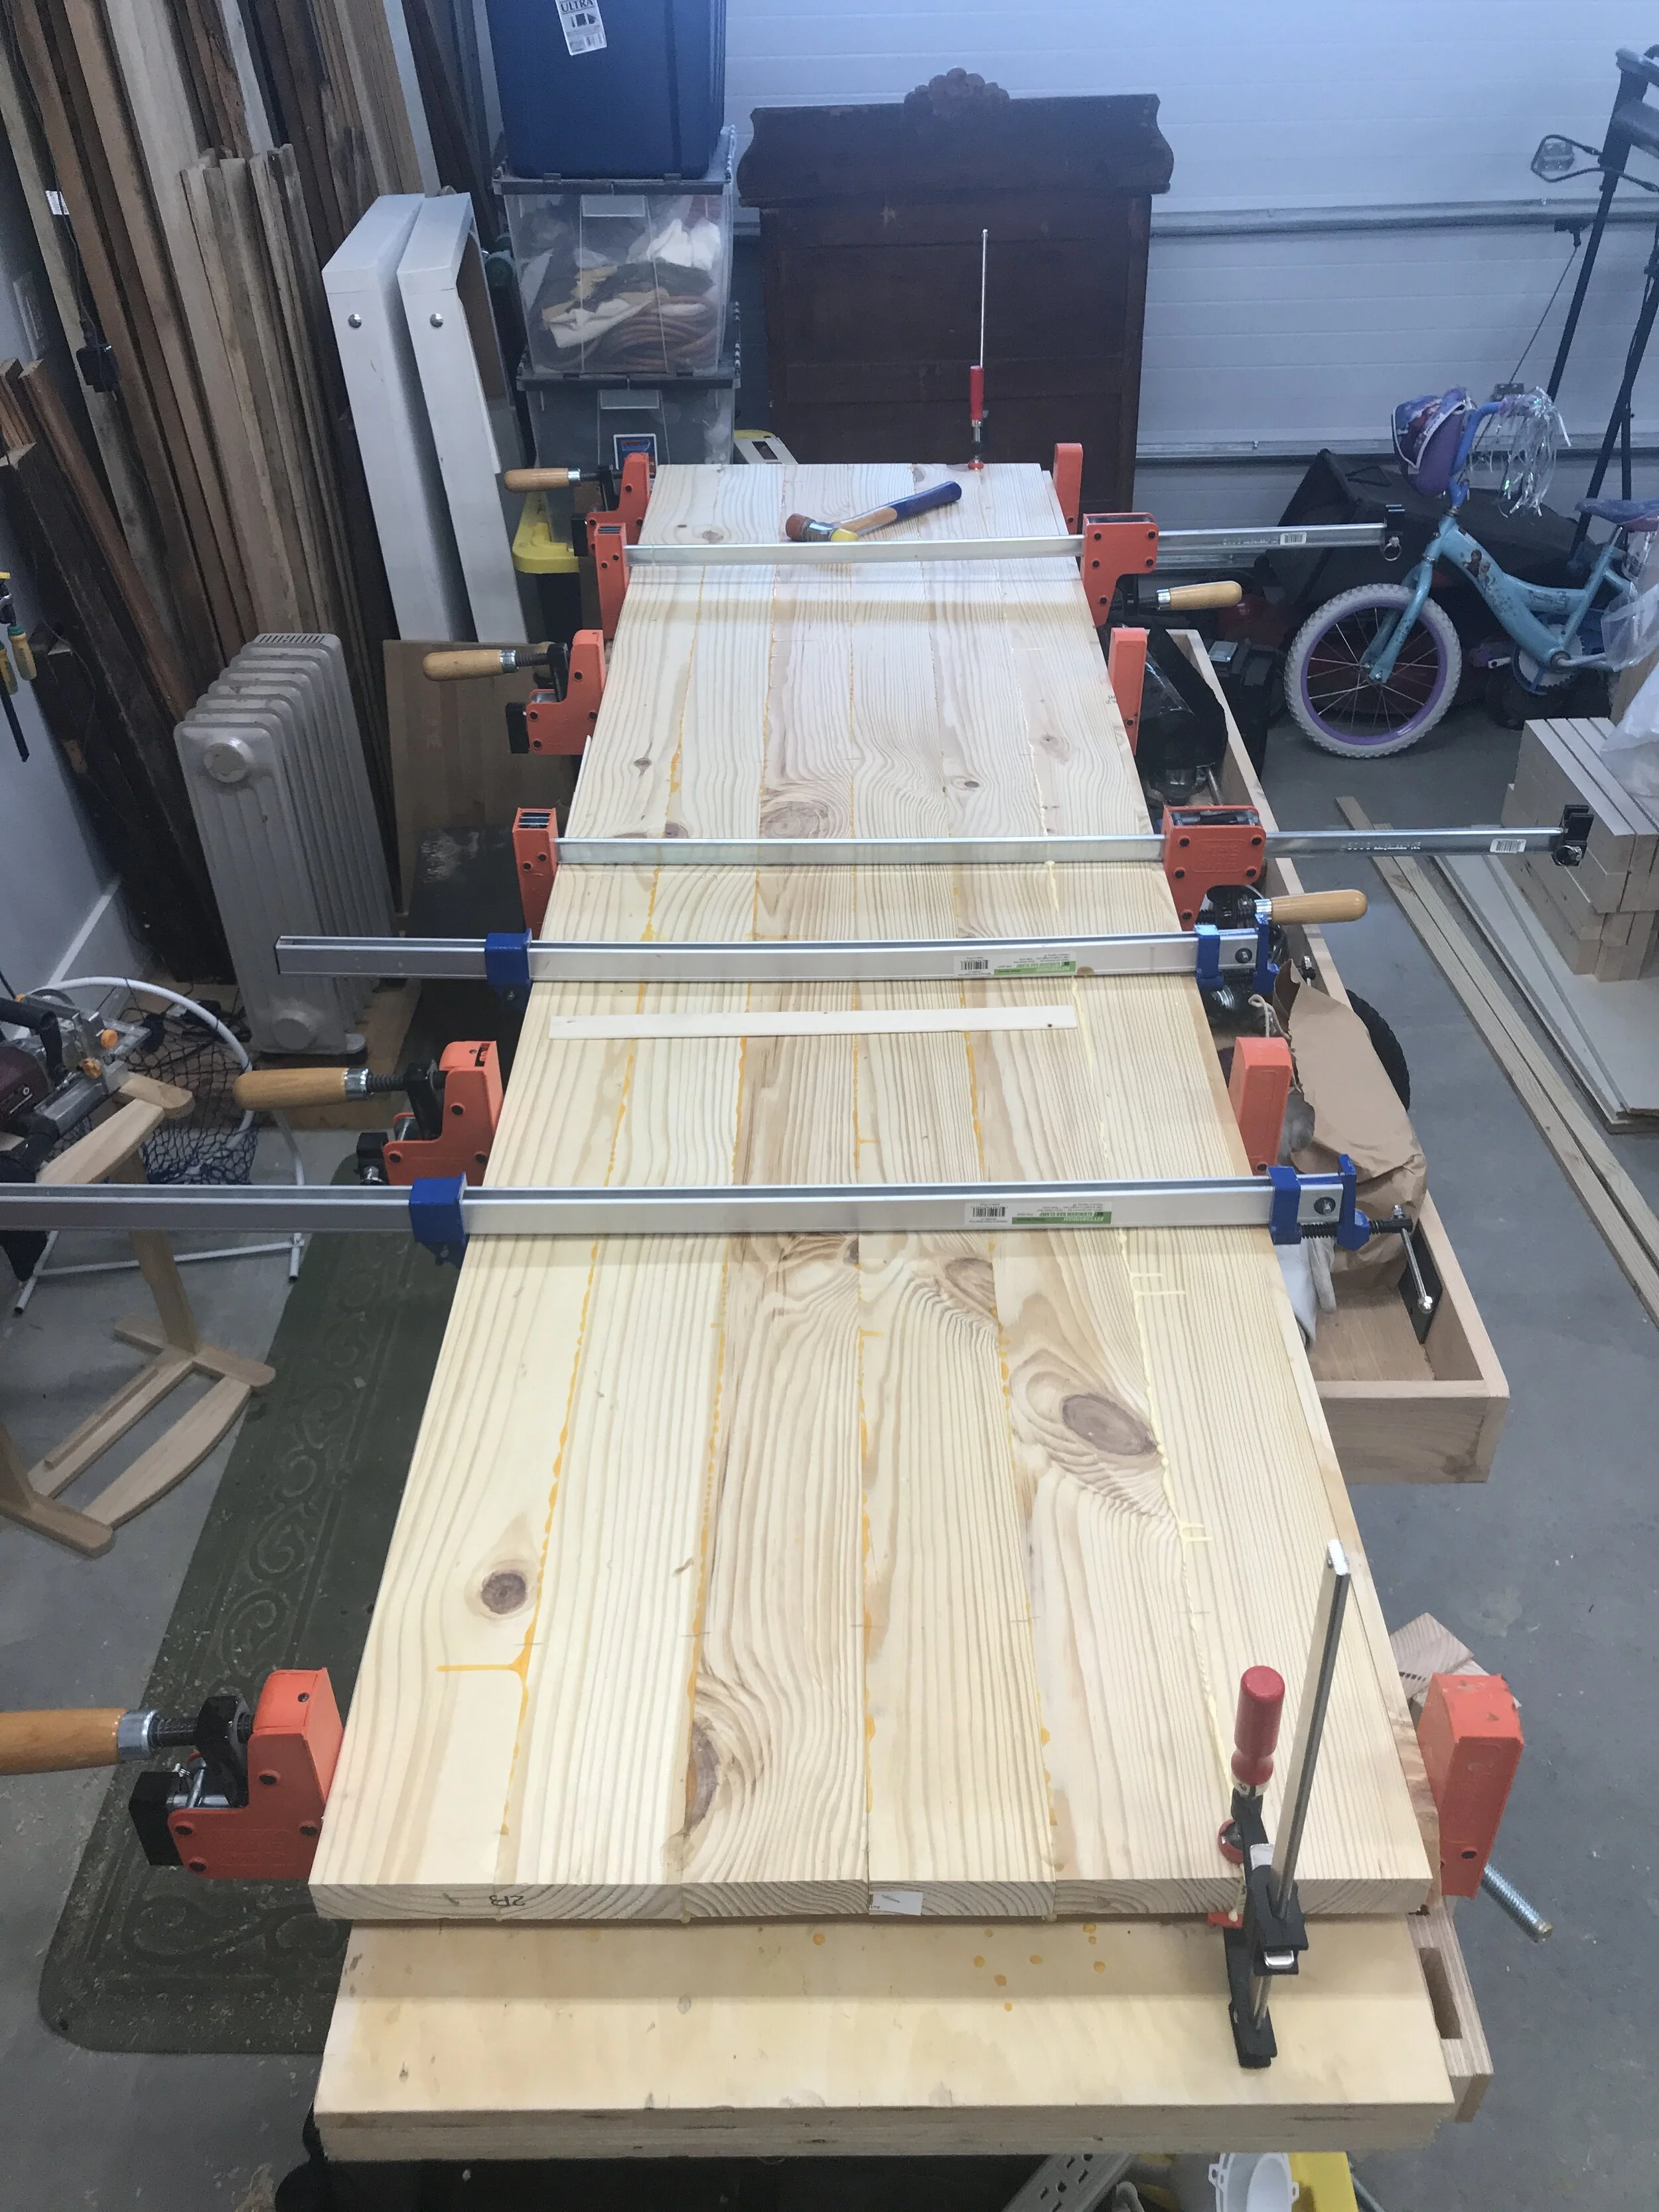
Full desk top glued up

Full desk top glued up
The next step is making the leg assemblies. I used 2x4s for these, and ripped them down to 3 inches on my table saw to get rid of the rounded edges that come on construction lumber. I think this makes them look much cleaner and more “fine” than using rough material, but that is an aesthetic choice of mine, and a lot of people make farmhouse furniture with boards right off the shelf. I cut the legs down to 28 inches tall, and the horizontal lengths down to 18 inches. All together the leg frames are 28 inches tall and 24 inches wide when laid out and assembled.
I used pocket holes and biscuits to assemble the leg frames along with glue. The biscuits helped with alignment and the pocket holes join the pieces together. Pocket holes are often looked down upon by some woodworkers, but they are an accessible, quick, and strong way to join wood for projects and furniture.
When I was done with assembling the leg frames, I had four legs that looked like this.

Leg frame assembled
I could have stopped there, and had a more modern-looking desk frame. But the design my wife and I came up with was more farmhouse themed, so I continued on building the leg frames by adding X bracing in each frame.
Cutting angles is hard. You can try and do math and geometry to figure out where to make your cuts, or you can use the work itself to mark out your cut lines and then cut to that line, no measuring or math needed.

Measuring for the X frame
I placed the long side of the X frame under the leg assembly and lined up the edges with the corners of the frame, struck a line with a pencil, and then cut to that line on the miter saw.

Long side cut and fit
The next step was to layout and cut the short pieces of the X frame, done the same way by marking from the finished piece, cutting to the line, and fitting to the leg frame. All of these are assembled with pocket holes and glue.

Assembled X frame
Now that we had the leg frames built, we had to create bases for the desk with simple stretchers. Stretchers are the long horizontal frame pieces that hold it all together and gives the desk base strength. I again used 2x4s ripped down to 3 inches wide and attached three to each set of leg frames, two at the top of the desk at the front and the back, and one on the bottom at the back, leaving a space on the front for your desk chair and legs.

Assembly done, in front of my had tool wall cabinet
When you cut wood square, you create some very sharp edges that are not comfortable to the touch, and in fact can cut you. You can soften these edges with sanding, but my favorite way is a block place. A couple of swipes on each edge gives a very clean and comfortable edge, and I did this for all of the stretchers for the desk base.

Stretchers attached
Now came the nervous part, making sure the desk fit in the space for which it was designed. If it doesn’t fit, I will have to do a lot of work to fix it, so let’s hope it fits in the office.

First fit in the final space
It fits in the space and matches the measurements I took at the beginning of the project. One key piece of the design that you see here is the desk was built around an Ikea Alex drawer that we already had, which also gives a nice separation of the workspace and adds needed storage.
We’re coming down the home stretch, and we move to my favorite part (sarcasm) painting and finishing. I used 2 coats of Zinsser water based primer and Sherwin Williams Extra White for the desk base, and Minwax Dark Walnut stain for the desk top. I also finished the top with a couple of coats of Minwax Wipe-On Polyurethane.

Primed and painted, i need a paint sprayer for the next project

Base primed and painted

Top with one coat of Dark Walnut from Minwax

Detail of southern yellow pine grain
With stain dry, we finished the top with a protective coat of Minwax Wipe On Poly, which is as simple as it sounds. Wipe some on, spread it evenly, and then wipe it off in about 10-15 minutes. We went with only one coat for a close to the wood feel, but you could build up many layers for more protection, which I would recommend for a dining table or other project. We didn’t want a thick film finish on the desk.
Final Step was to bring everything to the office for final installation and get the desk top attached to the bases. I used table top fasteners from the hardware store to attach the top to the base, as they allow for seasonal wood movement of the top, while keeping everything tightly connected. Once everything was in place, it was time to start using the desk, which has tuned out to be great for both of my kids as they do online school this year, and to give me a better place to do work from home when I’m not in the office every day of the week.

Home in Indiana

Already in use, more to come